Everything From Remote Starter and Tint To a Full Blown Audio System, This Scion Got The Works

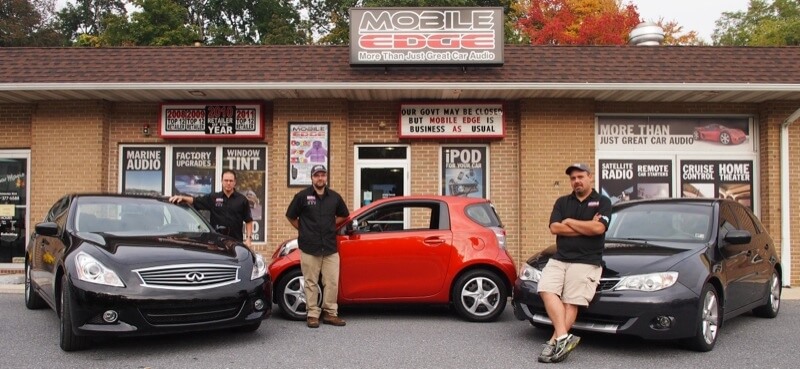
We have a state of the art showroom, install bay and fabrication facility. But we didn’t have demo vehicles to show our work in real world circumstances. That all changed recently when we bought 2 new vehicle for the store: A 2013 Scion IQ and a 2013 Infiniti G37X. Along with Bob’s daily driver, a 2008 Subaru Outback Sport, we now have a stable of vehicles what will showcase what we do. The first project was the Scion IQ……
Audison BitTen D Is Centerpiece Of Audio System
The audio overhaul began by re-wiring the factory front door speakers to the rear audio outputs on the stock radio. These speakers are not part of the aftermarket system but we thought it would be cool to be able to fade between the front and rear to show a “real world” difference between a stock system and an aftermarket system. It makes for quite an effective comparison.
The front audio outputs were then run to an Audison Bit Ten D signal processor. This little processor packs a mean punch when it comes to cleaning up an audio signal. From time correction to a full digital equalizer for each channel of output the Bit series processors are a staple in high-end systems. The compact size of the main processing unit also provides for tons of installation flexibility. In the iQ, we used our metal fabrication shop to weld a steel bracket that attached under the rear seats using the factory seat bolts as mounting points. We finished off this phase of the installation with a beauty panel to conceal the wiring but show off the processor.
Hertz HDP5 Amplifier Supplies the Power
From there the audio signal runs to a Hertz HDP5 five channel amplifier. Again we welded a similar bracket to secure the amplifier in the trunk area of the vehicle. The rack is also secured using the existing seat bolts and tucks nicely under the sub woofer enclosure. The 5 channel amp gave us great flexibility in wiring the speakers. We went with a full “Active” setup. This means that each speaker has its own dedicated channel and the subs are powered by a single Mono channel. The crossover points are set digitally in the Bit Ten and we did away with rear speakers entirely. With the fullness and richness of the front stage, the rear speakers won’t even be missed.
Hertz Slim Subs Provide The Bass
Above the amplifier, in place of the factory trunk storage pocket, is a custom enclosure for a pair of rear firing 10 inch Hertz slim line subwoofers. For space reasons we went with a sealed enclosure but don’t let the small package throw you off! These subs provide some serious bottom end to the system. We embossed the Mobile Edge logo into the top of the box and accented the trim panel with a grill material to tie the accent panels together.
Scion IQ Front Speaker Upgrades
The front stage is set with a pair of 5.25 inch Hertz High Energy component speakers. The midrange and tweeters were nestled into custom fiberglass kick panels. Great care was taken to angle and place the speakers optimally for the drivers listening position while not to intrude into the foot room for the driver or front passenger. Additionally, on the driver side clearance for the pedals needed to be taken into account. The panels were texture coated to blend into the existing trim panels and the result is custom panels that appear stock.
Digital Remote Control (DRC)
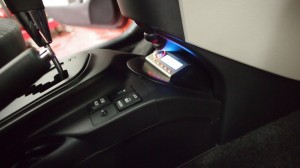
 The Digital Remote Control module for the audio system is housed above the gear select on the center console. The controller is flush mounted into the pod, and the pod was matched to the custom kick pods to tie both aspects of the installation together. From the controller, audio adjustments can be made to the audio signal such as volume, balance, and sub woofer control. More fine tuning can be done via the USB port (located under the driver’s seat) by connecting a laptop PC and the Audison BitTune.
System Tuning: Important In Any System
As with any system installed at Mobile Edge, the Scion IQ project was topped off with professional system tuning. This is a step that is often overlooked by other shops. Not here. We realize that a great system can sound bad if it is not tuned properly. We have all the tools and talent to tune any system. In this case, we used the Audison BitTune along with our Oscilloscope, DVM and RTA. By the time were done, the system sounded amazing! Staging and imaging are stable and precise and overall sound quality is superb! You need to hear it for yourself!
Remote Car Starter / Alarm Combo Installed
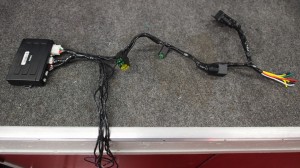
 Like every remote starter we install, EVERY connection is verified, tested and soldered. The modules are secured out-of-the-way to prevent them from interfering with any of the moving parts (pedals, steering components) that exist in and around the dash. Wires are loomed to protect them and give the installation a factory appearance. While aesthetics are always important, having a factory appearance is a functional part of the installation when it comes to an alarm and remote starter system. After all, what’s the point of a security system if the wiring can be easily identified and the system disabled by a potential thief?
In addition to the basic alarm and remote starter we added a few other convenience options. First, we added the Compustar Drone Mobile. This system allows us to remote start, arm and disarm the alarm, and even check the location and status of the vehicle. In the event the alarm is triggered, this system will alert the owner that the alarm was set off. Forget to lock the doors? Keeping tabs on a new driver in the family? There’s an app for that. We also added the EZ-GO system that senses when the owner is near and unlocks the vehicle automatically. It will also re-lock and arm the system when the owner walks away. Beyond keyless entry, this is effortless entry. In the event we would need to access the vehicle and not have the keys a Compustar RPS touch system allows us to enter a code into the windshield mounted touch pad to gain entry to the vehicle. As an added bonus, the RPS system can also be used in conjunction with the Drone Mobile system as a vehicle pager. Simply touch the “page owner” and an SMS message will alert the owner that someone is waiting. We also tied in the vehicles single LED “dome light” to “illuminate” the interior of the vehicle upon remote unlock.
Not Complete Without Window Tint
Beyond the electronics we also applied Carbon window film (18%) everywhere but the windshield. We went with the Carbon film mainly because of the electronics in the vehicle, both factory and aftermarket. Non-metallic films (Carbon and CXP) do not interfere with electronics as their metallic counterparts have been known to do. Tinted and tuned this system is ready to impress. If you’re in the market for a better audio solution for your car or just in the area, feel free to stop in and we will be happy to show you around and let you hear how car audio should sound.


